Category Archives: Equipment

A quick Activation

As today saw the temperature plummet from the heatwave of the last 4 days, I decided to duck up the hill to Mt Gawler – VK5/SE-013 and see what the bands were doing – well, that and go out and hope to get a VK5  to ZL1 S2S as there was some ZL1 activity going on.

This was a bit of a different activation today as I went with a little bit of new kit for the first time.

New Toys

Can you guess?  no ?

Ok, the SideKar and keyboard for direct entry logging is not new, had it for a while now and am really starting to get used to it rather than the paper log.

You might have noticed the external amplified JBL speaker, but no, that’s not it either!

Ok, it is the QRO! (well not quite) but the HR-50 amplifier to give the KX3 a bit of a bump from 10w up to the 50+ watt mark  (well, more like 60w on most bands).

I have had the kit for a few month’s and managed to put it together about a week ago and today was the first time I have had a chance to give it a run in the field.  By All reports – the bit of extra output helped – pretty good reports all day.

Band conditions were very strange – very short hops on bands where it was not really expected!

I started out on 15m and worked VK3, VK1 and VK7 stations.  On the suggestion of Tony, VK3CAT, I then gave 10m a try and was rewarded with VK3 and VK1 contacts for my log.  As I was using the 30m dipole for 10m, I then gave a call out on 30m and worked VK2, VK3 and VK5.  20m was the best band of the day and I worked VK2,3,4,5’s and ZL3CC for my only DX of the day.  I always end up on 40m for at least a bit of every activation and I worked into VK2, VK3 and VK5 before I packed up for the day.

I was able to round out the day with the final station logged of VI3ANZAC on the last day that this call will be activated.

I did see the spots for ZL1 activation on 20m and could hear a few of the chasers, but alas, no VK5 to ZL1 S2S today, but hope it won’t take too long to get one!

As always, thanks to all the chasers as you make it all worthwhile.


Building the WARS Powerpole Kit

Like  many of us, I am forever on the look out to managing power connections and of late have been moving more towards standardizing on Powerpoles for my (up to) 45A Connections.

Recently, I purchased one of the WARS (Waverly Amateur Radio Society) Powerpole Kits and finally found a bit of time to assemble it.  I won’t go into any details on the kit – all the info is available from the WARS site.

The assembly is pretty straight forward, just take your time and follow the instructions and it will all come together.

Have a decent high-power soldering iron available. My 15/40W soldering iron was on the lowest end of what you would want! It took quite a lot to heat up the connections on the + and – rail sides, there is a LOT of copper on the board.  I would have liked a 60+ W iron to do this, and will borrow one for the next kit I assemble.

It took me a few hours to assemble it – partially because of the low-powered soldering iron and aside from that, just took my time, careful with the alignment of the power poles and the fuses. What I didn’t do, but should have done is to trim off the leg lengths of the #13 wire on the power poles BEFORE soldering them to the board – it was difficult to trim them off after soldered to the board as you will need a strong pair of snips to trim them.

It all went together just fine and now I have done it, I need to purchase another couple of these :).  This was bought for a specific purpose and also to see if it would make a suitable alternative to a commercial one – wins on all counts.

Assembled and ready for boxing

After assembling there is room for a few Improvements:

If you install the Input power poles on the board at the 90Deg (like mine) the instructions say to make the cut-out 18mm wide and 15mm deep into the case. the 18mm is a nice neat fit, but the 15mm leave a big gap, I would say that 13mm is more than enough.  It is easy to trim a little more out, but much harder to add it back in!

You cannot see it, but when in the box there is about a 3mm gap above the input powerpoles.

Additionally, the print-out for the cut-out in the top of the box is also wrong! It is way too long – the end closest to the INPUT should be about 3mm less than the template. The end with the LED is correct.

Assembled in the box showing the cut-out around the powerpoles and fuses

Be careful with the alignment of the template when cutting it out – as mine was about 1mm off to 1 side and I had to ease the opening out a bit wider so it would all go together.  You can see that on the side of the power poles that there is an extra gap – as the cut-out was slightly off, and the side near the fuses needed to be eased slightly for everything to fit.

The kit includes insulated spade connectors which are used to hold the fuses.  I tried following the instructions supplied, but found it faster and easier to cut away the insulation with a knife.

A nice touch is the blown fuse indicator – where a small red LED will light up when a fuse blows making it obvious of where the problem lies.

Testing the "Blown Fuse" you can just see a slight red from the LED on the fuse holder, but very easy when viewed from the top
Testing the “Blown Fuse” you can just see a slight red from the LED in the image.

You can see the bi-coloured power LED.  With the correct polarity, it is green, reversed it is red – you don’t want to see it red, but at this stage, you do want to test it to verify.

At around 1/3 of the cost of an equivalent commercial product, adding a couple of these to your portable and field day kits will not break the bank – and provides an easy, convenient way to fuse protect your equipment, with enough outlets to power almost all of your equipment.  For that matter, adding a few to your shack as well is a good option for DC distribution

Those minor issues aside, pretty happy with the end product.  All in all, I rate it as 4.5/5.

It has been a while

… since the last time I have managed to get out portable, but this afternoon,  the opportunity came up and I grabbed it with both hands.

Yes, the band conditions were not great wtih a CME less than 48 hours ago, but regardless, I still went out.

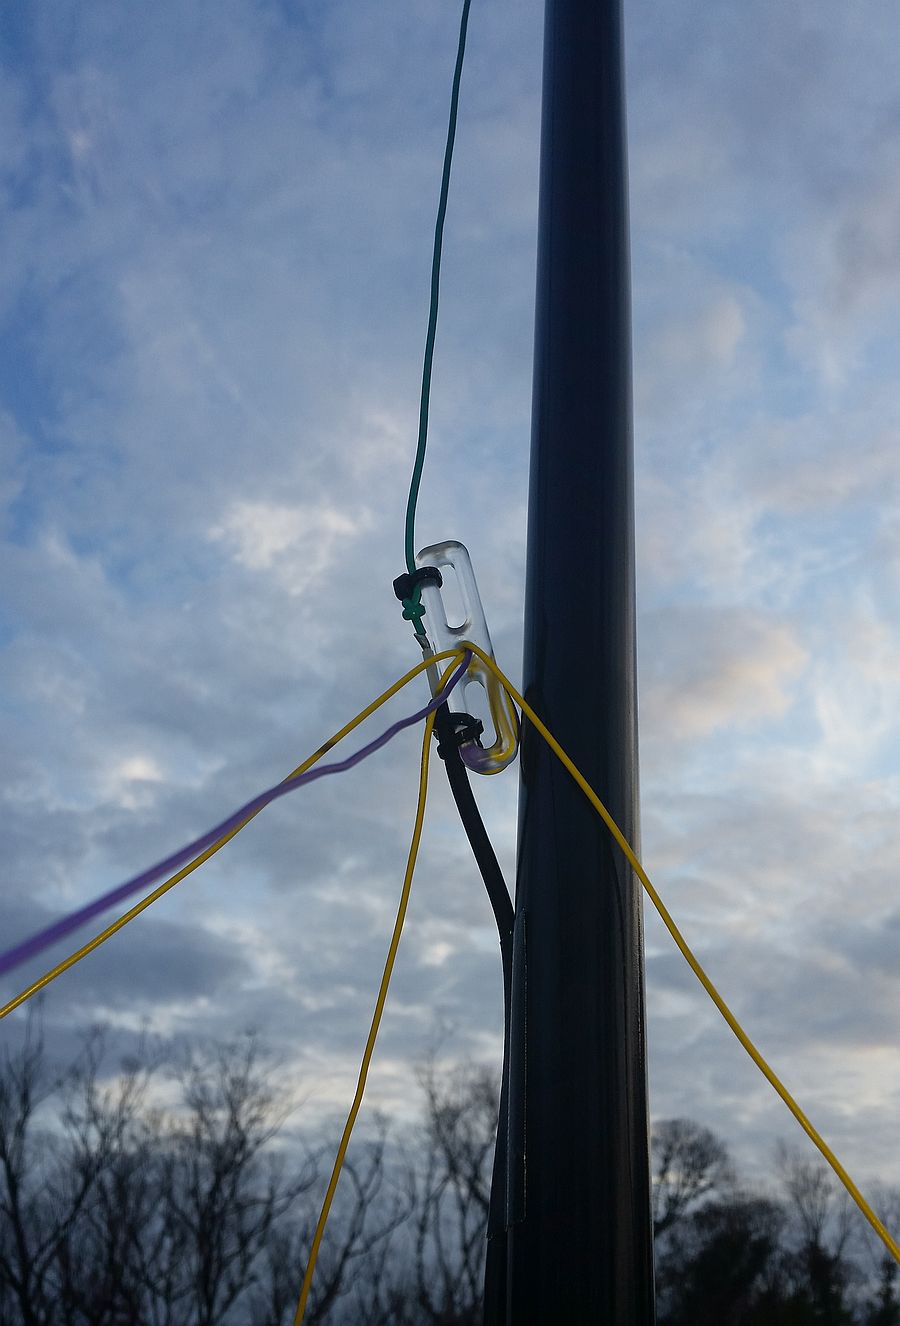
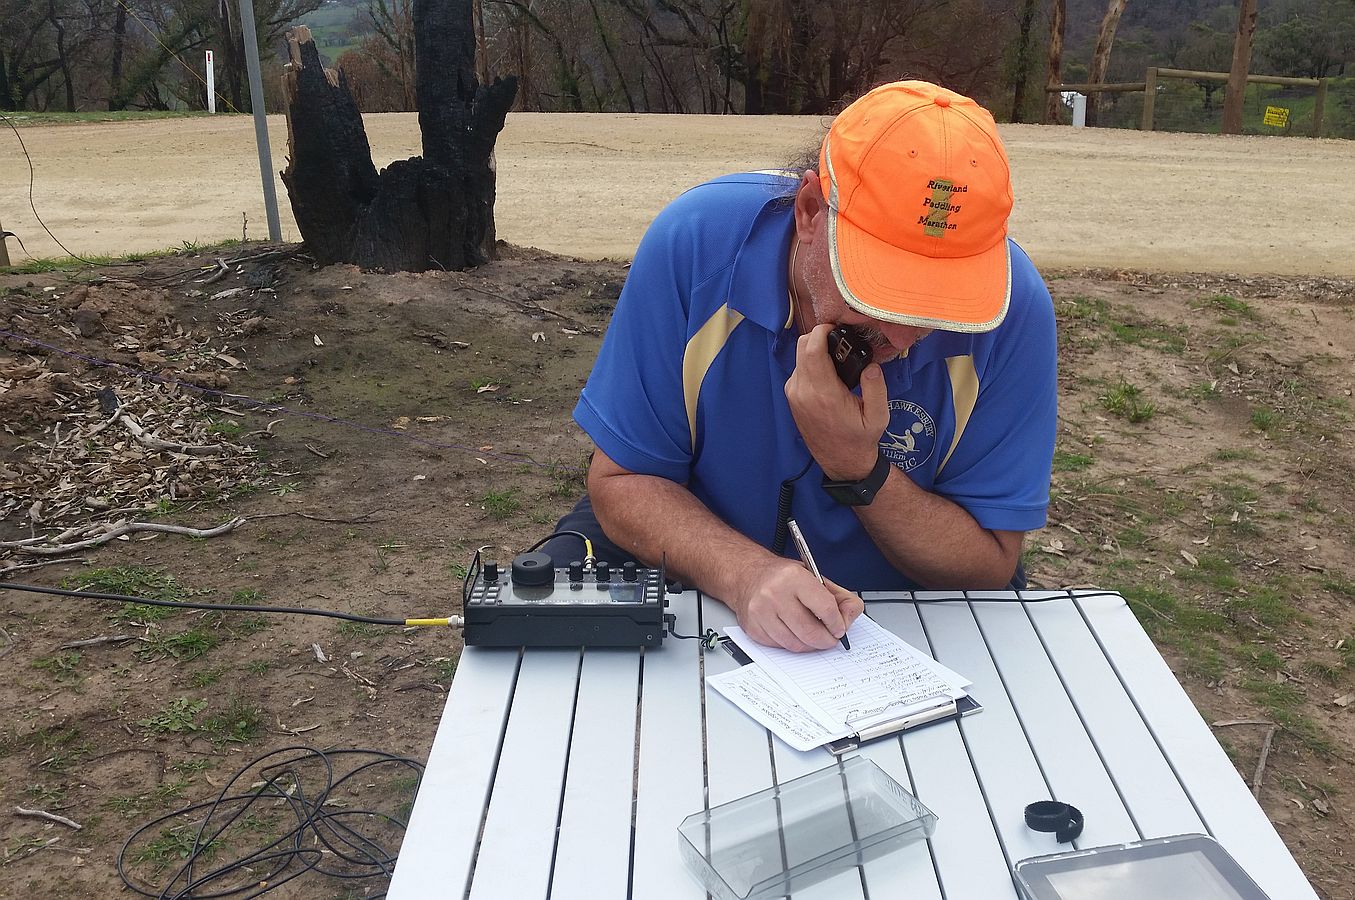
The location was Mt Gawler – VK5/SE-013 and today, I chose just to operate 15M then 40M, both off the 40M inverted V.

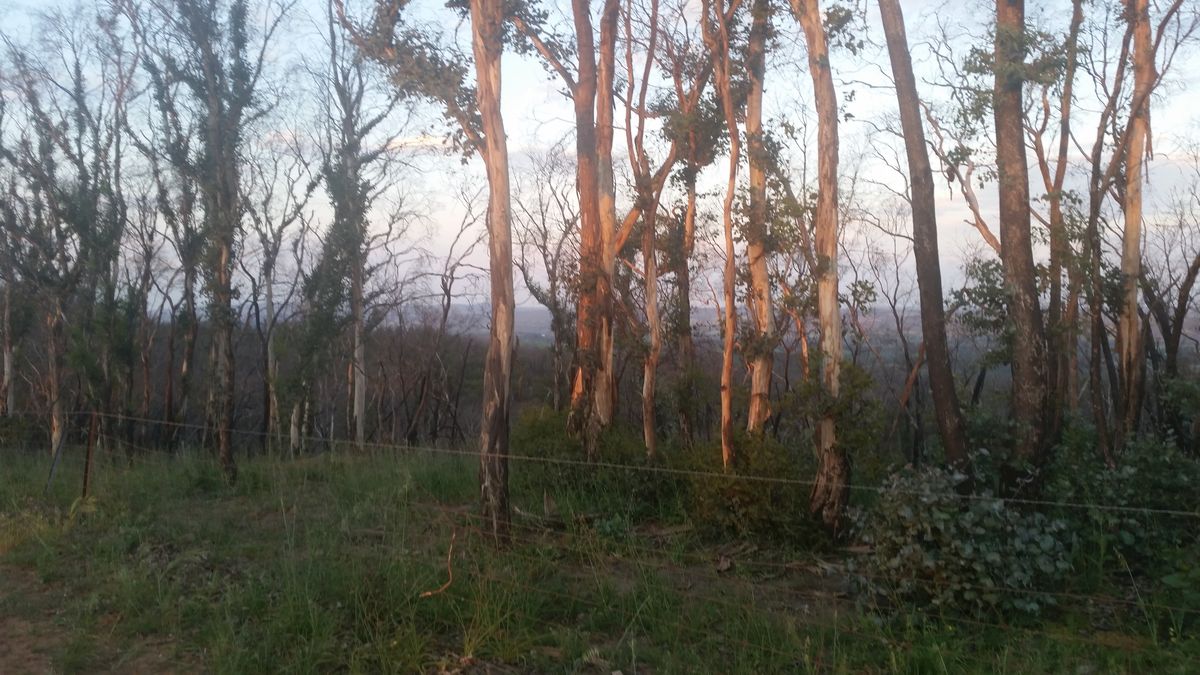
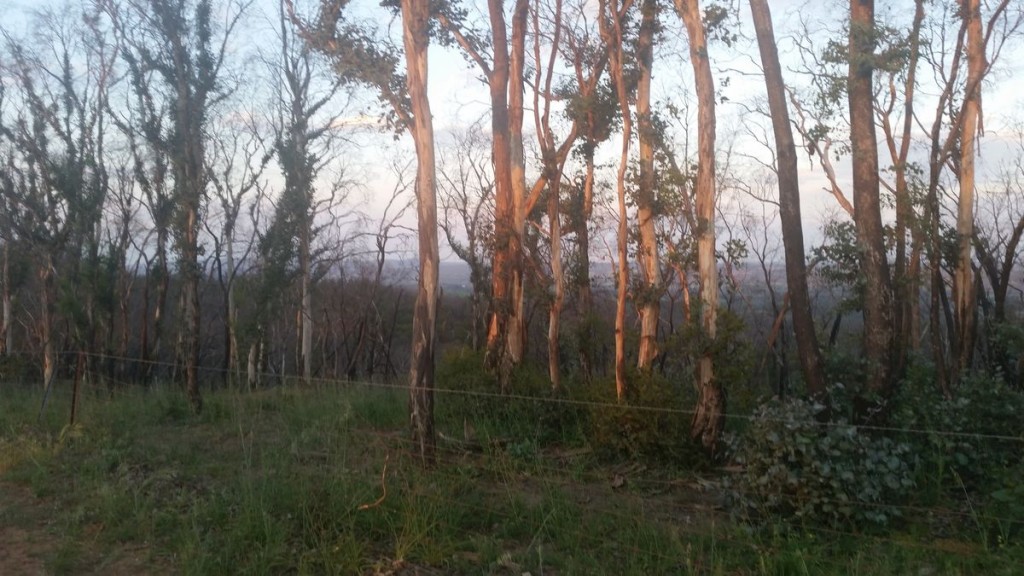
Firstly, it was good to see that the vegetation is slowly regenerating after the fires.

20151009_191136

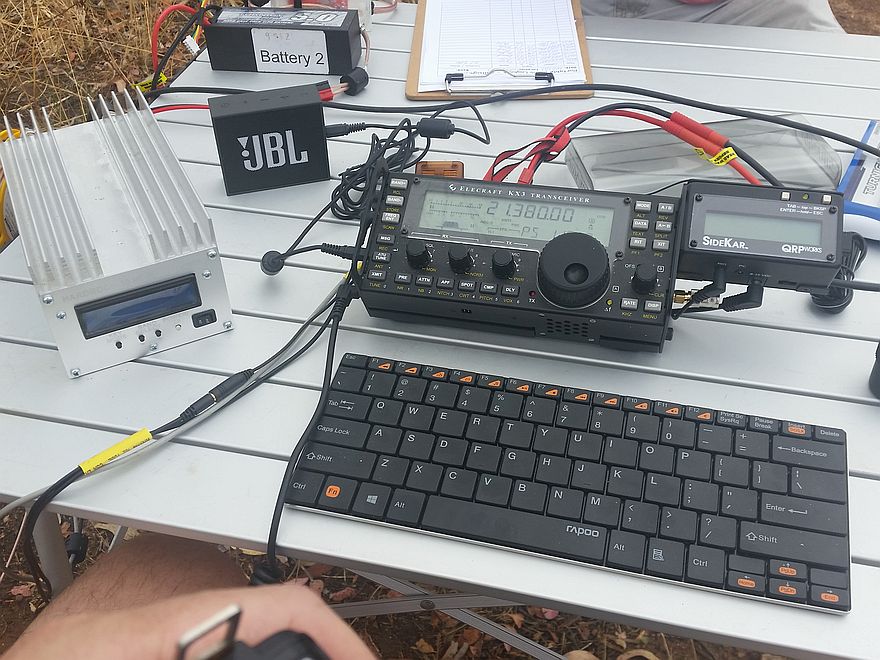
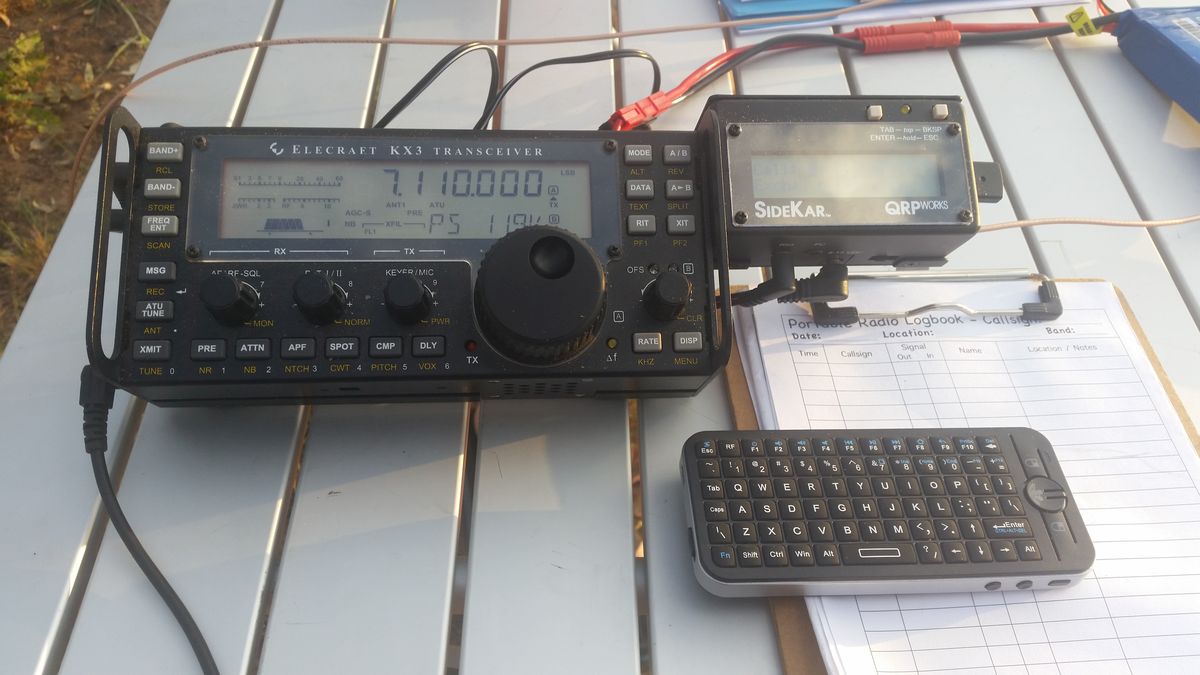
Well, a few things have changed with my setup since last time that I was literally trialing in the field for the first time.  Firstly, the new KX3 firmware that will allow 10W output with a power supply voltage above 10V.  This change means that I can use a 3S lipo and eliminate the (noisy) DC-DC converter I was using with the 4S lipo.  Glad to say it worked out great – and everything worked as expected.

The 2nd one is the ever-elusive quest to simplify logging!

20151009_184748

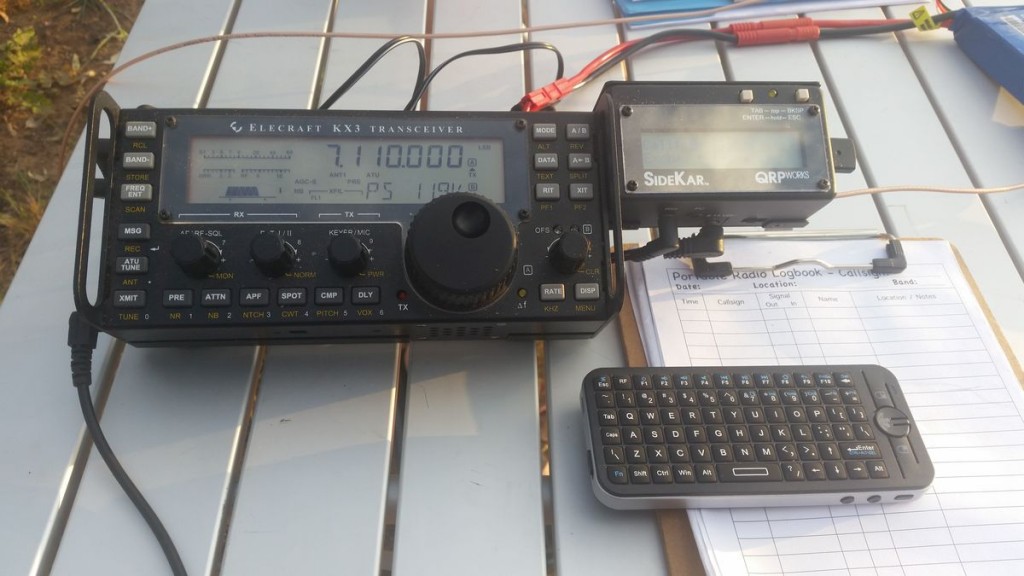
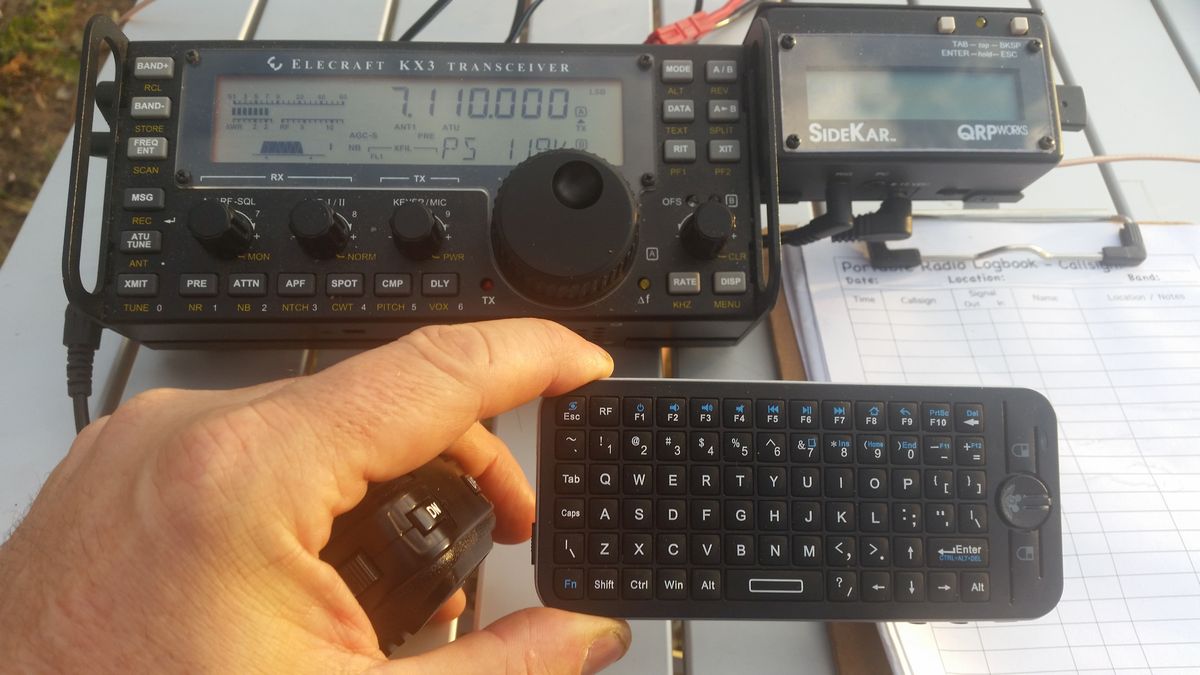
Yep, got a QRPWorks SideKar to go with the KX3 – and a micro wireless keyboard to drive it.

20151009_184840

A bit more on it shortly…

It was a really pleasant afternoon and started on 15M

Posted a spot and started calling and only had a single contact on the band – VK5PAS.

After abut 20 minutes of calling CQ SOTA (thank heavens for the voice keyer and playback repeat functions of the KX3!) I moved to 40M and again started calling.

Like 15M the bands were pretty quiet but with the alert, over the next  hour, I put a further 10 contacts in the log.

As expected because of the conditions and time of day there was not much close-in activity – just a couple of mobile stations.

A few of the regular chasers were there, but a surprising number of VK6 stations came back to me – I have never had 3 VK6’s in the log on 40M from here before!

Stations Worked on 40M

VK3PF, VK2IO,VK6NU, VK5AK/M, VK1MA, VK2HRX, VK6NK, VK2JAZ, VK6WE/P and VK5FSPJ

Now, Simon, VK2JAZ was asking what I could see from up at Mt Gawler – so I told him exactly what I was seeing – the sunset – and as promised – here is the photo of the sunset I took while we were talking – the photo does not do it justice!20151009_191840

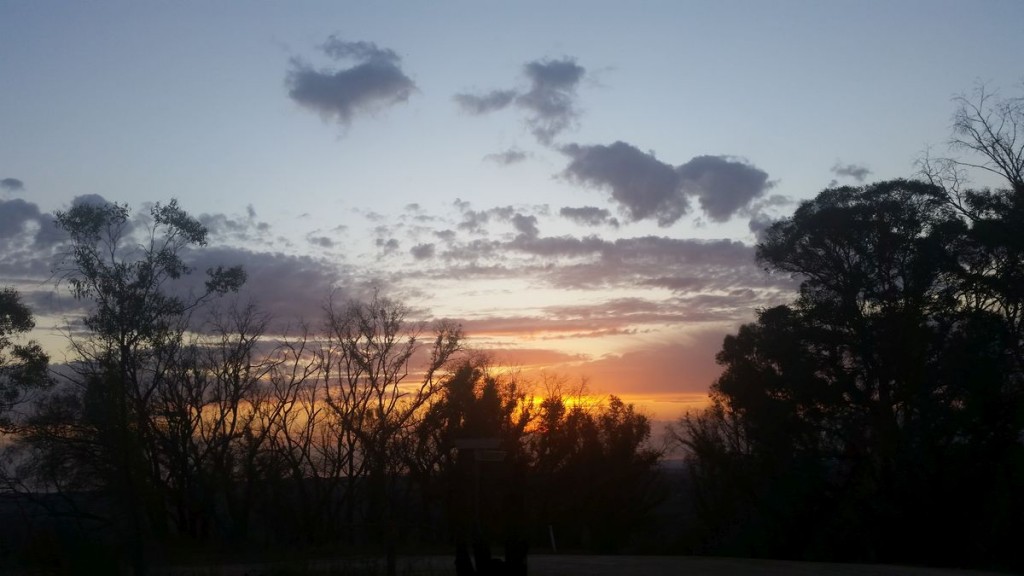
Now, onto the SideKar.

Well, it was a little bit of getting used to using it – and today, I was thankful of it being fairly slow so I had plenty of time to actually use it and get to know how to do the logging.

At the start of the session, I had to read the manual – on how to do some of the setup.  This device is specifically designed with SOTA in mind – and first things I did was to set the clock,  then set my SOTA Reference.  From there, it was pretty much just learning the keyboard shortcuts to make a log entry.

As the SideKar interfaces to the KX3, I did not have to be concerned with frequency and time – it was all recorded with each log entry.

I  was able to enter every contact into the SideKar in real time, It is a couple of keystrokes and all good!

Now of course, with the logs being entered real-time and then when I got home it was simply a matter of exporting the ADIF right from the SideKar to the computer.

As we all know – we need a V2 CSV format for uploading the logs – and I managed to find an online converter to do this.  The converter was not perfect, but took care of most everything – with just a few minor edits needed to get it ready to upload.

I guess that I’ll look at developing a suitable conversion App in the future to export the ADIF as needed for upload to Sotadata.

Now, one of the issues I have had is managing the logs for WWFF – and now, I will be a lot closer to making this a lot easier as well in the future.

Of course, you will see that I used a very small wireless keyboard for interfacing with the SideKar – and it is perfect in so much as it is very lightweight – less than 50g.  You can use any USB or 2.4G Wireless keyboard, so a bigger keyboard might be used in the future for contesting etc, but for now – the lightweight one wins out.

At the moment, I have not really used the other features of the SideKar – extended display for PSK, RTTY and CW, but there is plenty of time for that.

As toys go – Pretty happy with this one, knowing that it makes the job of logging for the portable awards much easier.  Not only is it small and lighter than a laptop – it is useable in full sun – unlike the laptop!

Yes, a big success – and it is going to simplify my logging.

Ok, yeah, I know it turned into a mini-review of the SideKar, but by lowering the burden of having to enter all the paper logs when you get home, it makes the whole idea of going portable a lot more attractive!

Phased Vertical Antenna Testing

On Sunday when I was out, I finally had the opportunity to do some very basic testing with another Local amatuer whom is approx 20km away  to do some simple testing  of the 4 possible configurations of the Vertical antenna’s.

It was certainly not state of the art, but more real-world evaluation of the Received Signals, so more comparative than anything else.

My Ascii Art

A         B                                                                                                           RX

Ok,  A and B are the 2 Vertical Antenna’s spaced 1/4 wavelength  (5.1Metres)  apart and RX is the Remote station where we were receiving the signal o the various feed configurations.

First Test – a Single Vertical

I connected up to Vertical B and the Rx signal strength was S8, and the baseline we would use to compar all other configurations against.

Second Test – Broadside

Next test was to connect the feedpoint via a T piece to both A and B feedlines.  The expected pattern is a “figure 8” with the nulls towards the RX and the lobes “broadside” to the array.  RX signal was S7. Pretty much as expected it would be weaker than a single antenna.

Third Test – End-fire Away from the RX

To end fire Away from the RX the Feedline was connected to antenna B and a 90Degree phase/delay line was then inserted in between the feedpoint to Antenna A.    So we can say that antenna B is 0 deg, and Antenna A is fed with a 90 degree lag/delay in phase. This should be a cartiod pattern with a deep null towards the RX station and firing in the direction of Antenna A.  The RX sgnal of S6 indicated that this was indeed the case.

Fourth Test – End-fire Array towards the RX

This time, I simply reversed the delay line and had Antenna A as 0 degrees, and Antenna B as  90 degree lag/delay.  This effectively means that that the cartiod pattern is now pointing towards the RX station, with the null towards the A antenna.  The RX signal strenth was S8-9 (subjective – descrbed as a bit better than the  config 1)

The results are about what I would expect – with differences of 6-10db on the signal.

Finally, I did shoot a short video that shows the Antenna configuration as per the Fourth configuration,  Looking from Antenna A towards Antenna B is the direction I was intending to “beam” and in this case, with the very broad forward pattern.

Hope the Video gives a bit of an indication on how I set up the End-fired Phased Vertical Array

Going Portable with multi-elements rocks!

Working the EU long-path on 20M

After working on other things for the last few month’s I finally had a chance to get out again at the right time of day to have a go at working EU on the long path.

We headed up to Mt Gawler – VK5/SE-013 and proceeded to set up the phased verticals on 20M.  Once set up a quick listen across 20M and it was fairly busy, and eventually found a free frequency and put up a spot.

20M vertical
A close-up of the base of one of the 20M verticals. You can see the Coax, the vertical and the 4 elevated ground radials

On the 2nd call  the spot was out and I had my first EU contact in the log with Danny, ON4VT at 05:52,  and quickly followed with a whole lot more!

Working the Pile-Up
Working the Pile-Up

Now, I normallyforget that my phone has a easonable video camera in it, but today, I asked Ray to grab a bit of video.

At 06:20 once things started to pick up, we grabbed a few minutes – and the last 30-40 seconds where what it was like for at least 30 minutes!

It was a constant go and between 05:52 and 07:10 where I worked 75 contacts on 20M.   In the mix there were 1 JA station, 2 US stations, 1 Canadian, 10 VK stations and 61 EU stations across several countries – including a new country for me from a summit – SV9RGI  in Crete.    In the mix there was around 15 EU contries in the 80 minutes I was on 20M

Full Logs – vk5se-013-20150613

Of course, I always give 40M a quick (or not so quick today) go to give the VK chasers a chance to score the points, so up went the 40M dipole.

As the sun was starting to go down and the temperature was falling, I added another 26 VK chasers to the log to give me a grand total of 101 chasers for the 2 hours.

It was a hectic time, but again, even if you are only a 2-pointer, if you are at the right place at the right time of day you can log a lot of contacts!

And yes, I love 2 elements on 20M from a summit!